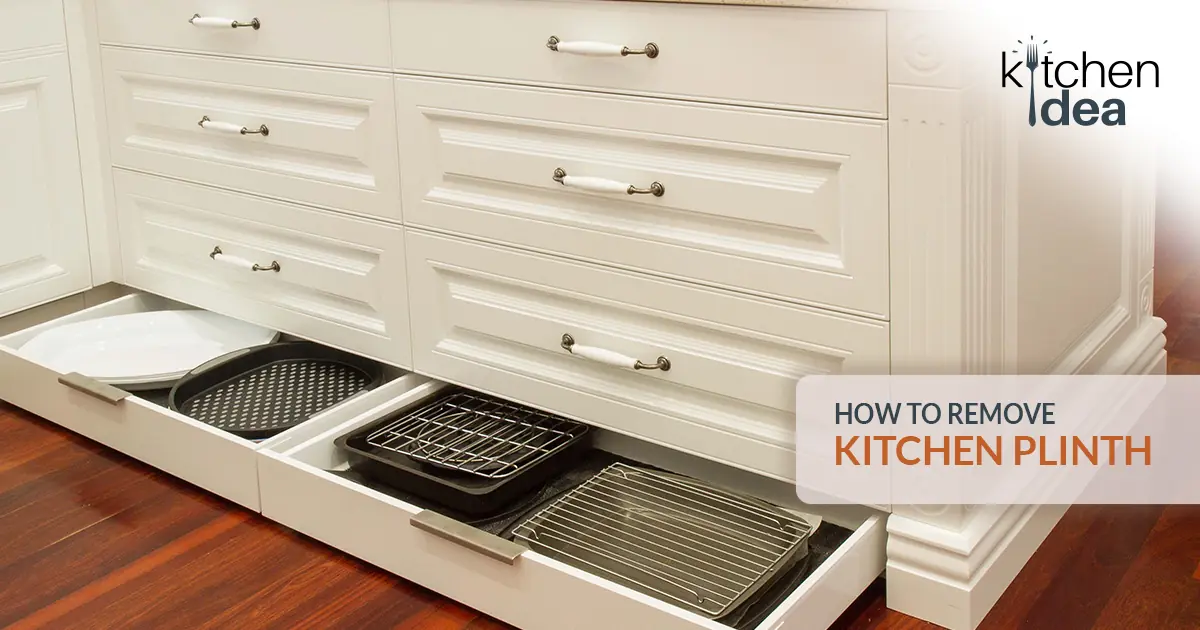
Kitchen Plinths are used under a kitchen unit, usually made of boards, to cover up space and remove visual gaps between the floor and the kitchen unit. Furthermore, they also prevent dirt from getting beneath cabinets and create a seamless transition between the kitchen unit and the floor. If you want to know how to remove kitchen plinth, follow our guide here.
You may need to remove the kitchen plinth board if you need to clean the space, reinstall a new kitchen plinth, or fix your already existing plinth.
What are Kitchen Plinths?
Kitchen Plinths are used to cover up space between the floor and your kitchen unit. However, they provide aesthetic value besides being functional.
Kitchen Plinths are most commonly made out of laminated chipboard. Still, if you’re looking for further customization, you’ll find them in – Melamine MDF, Vinyl Wrapped, Acrylic, Painted, Stainless Steel, and Brushed Aluminum.
Some of these finishes usually cost more than others, like Stainless Steel or Brushed Aluminum. However, with added cost, they also bring in extra facilities since they are typically pressed onto waterproof boards, providing additional protection from spills in the kitchen.
How to Remove Kitchen Plinth?
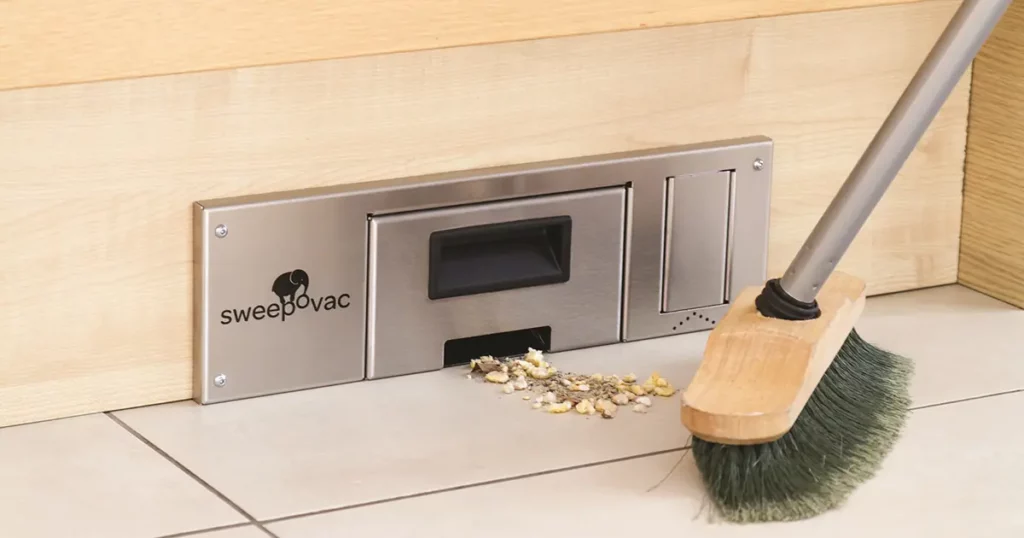
You might need to remove your kitchen plinth for various reasons, like rearranging your kitchen, repainting your kitchen unit, cleaning or sterilizing, or maybe reattaching and fixing your existing kitchen plinth if you’ve installed them wrong.
Removing a kitchen plinth is relatively simple, and you can usually do it by hand or with the assistance of some household items. However, there are also tools available for safely removing a kitchen plinth.
First Method
If your Kitchen Plinth is screwed into the bottom of your cupboards or dishwasher you need to unscrew them.
- Your cupboard/dishwasher kitchen plinth screws will be at both ends of the units; mark them.
- Using a #4 or #5 size screwdriver, uninstall the screws on both ends. Keep the screws in a safe place, as you’ll need them to reinstall your plinth afterward.
- For accessing the space below, you can use a fork or a piece of metal bent 90 degrees.
- Put the bent end of the fork or piece of metal you’re using inside the plinth, while holding the fork inclined towards you.
- Use the inclined fork to pull towards you to get the plinth out.
For the smaller portions of your kitchen plinths, you can remove them by putting the fork around the middle section of the plinth. However, remove the left or right side for larger units first, then remove the other end.
Second Method
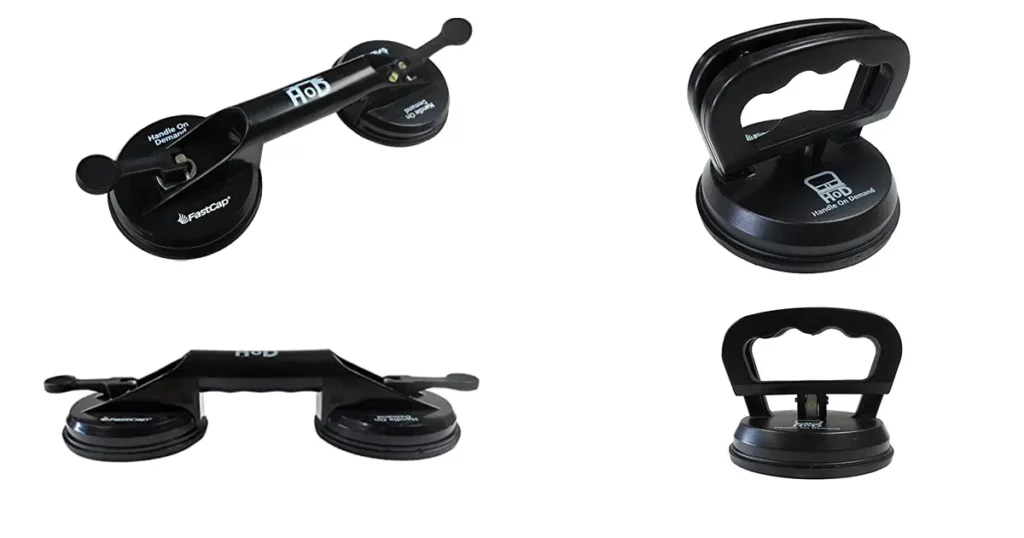
If push-on clips install your plinths or it’s hard to get a hold of to pull, you can use different suction cup lifter tools.
In such cases, the procedure would look like –
- Before you start, you need to ensure the surface area of your plinth and the suction cup rubbers of the tool are clean since dust can create a void in the suction process.
- Place the rubber ends of the tool onto the middle section of your kitchen plinths.
- Use the levers installed on both ends of the cups to lock both of the cups into the plinth.
- Once it’s locked and attached to the plinth, place your hand on the middle of the suction cup lifter and gently pull it towards you, the plinth will come off.
In the market, you’ll be able to find suction cup lifter tools with single and double cups. Depending on the size of your plinth, you can use the single-cup lifter.
However, purchasing a double cup would be optimal since you could use them for all your kitchen plinths. Fastcap’s HOD (Handle on Demand) is one of the best suction cup lifters you can get, and they have both single and double-cup models.
Why Do You Need Kitchen Plinths?
Kitchen plinths have both functional and aesthetic values. Kitchen Plinths create a more neat and solid-looking finish to a kitchen since the cabinets are connected to the flooring.
Since it covers the space between the cupboards and the kitchen flooring, it offers protection from dust and debris. Furthermore, it also stops small critters or mice from gaining access to the space below your cupboards or dishwashers.
They are aesthetically pleasing, too, since the elevated space of the cupboard from the floor might look odd in your kitchen. Furthermore, they also offer extra visual customization options. For example, you can have your plinths the same color as your cupboard or dishwasher or a color that contrasts with the color of your cabinet or dishwasher.
Furthermore, Kitchen Plinths made with specific materials also offer extra protection against water or beverage spills in the kitchen.
Alternatives to Kitchen Plinths
Besides kitchen plinths, you can also use toe-kicks, which offer the same functionality but have a different look. Toe-kicks are recessed and provide more space in the middle than kitchen plinths.
Toe-kicks are more common in US-styled kitchens (as opposed to English kitchens), but it also comes down to your personal preference. If you think your kitchen would look better with toe-kicks, you can opt for them.
You also have Cornice and Pelmet for your wall or hanging cupboards. Both of them offer more aesthetic value as opposed to being functional.
A cornice is attached to the top of wall cabinets or full-height cabinets and is of different shapes and sizes, depending on the look of the kitchen and cabinets.
On the other hand, Pelmets are attached to the bottom of wall cupboards or hanging cabinets and come in different shapes and sizes.
You can paint Cornice and Pelmet to match the color of your cupboard or go with a contrasting color. Furthermore, you can also use Pelmet to hide lighting fixed on the underside of cabinets.
Kitchen Plinth Styles
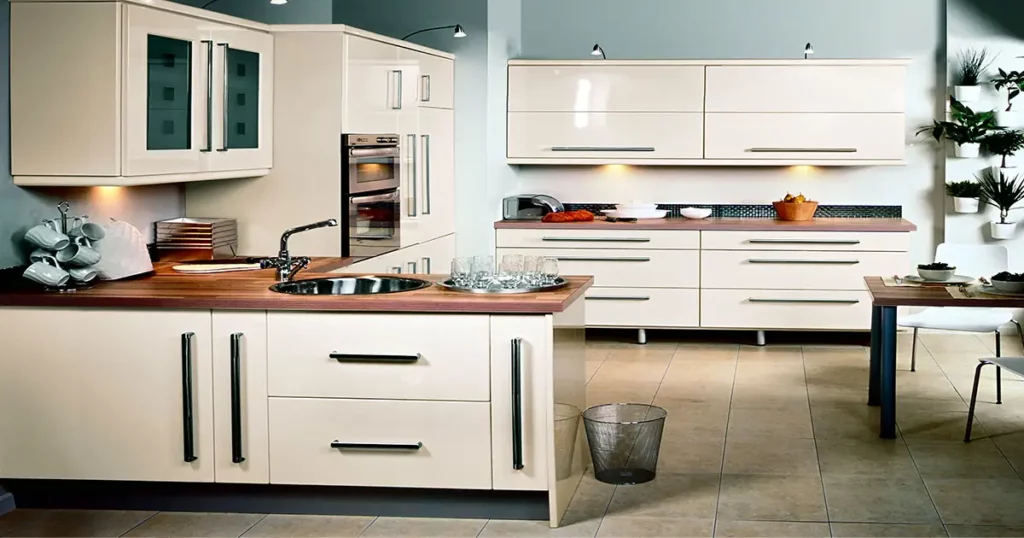
Kitchen Plinths come in different shapes and sizes; depending on your cabinet and kitchen style, you’ll need them in multiple sizes. In addition, as mentioned, they also come in various finish options, and the choice depends on your budget and kitchen styling.
However, the plinth boards come in two styles: Inset Plinth and Skirting.
Skirting offers the same functionality as plinths, although technically, they are not Plinths since they usually sit outside kitchen cabinets. Skirting can go well with kitchens styled with a traditional look and feel and need an elegant and robust look. You’ll also find multiple styling choices if you go with Skirting.
Inset Plinths are called Recessed Plinths since they are recessed into the cabinet and door space. Inset Plinths are a prevalent choice and offer extra functionality, as there’s a little space to tuck your feet in while working on the countertop.
Common Queries
What’s the difference between kitchen cupboard plinths and toe kicks?
Functionality-wise, kitchen cupboard plinths and toe kicks are the same, and they cover the gap between kitchen cupboards or dishwashers and the kitchen floor.
Toe kicks are slightly indented and leave space in the middle, allowing people with larger feet to stand closer to cabinets.
On the other hand, Kitchen Plinths have no indenting and have a more seamless look.
How are kitchen plinths attached?
Kitchen plinths are either attached into the surface of cupboards using screws or use push-on clips on the edges of plinths.
What is a kitchen cupboard pelmet?
Pelmets are attached onto wall cabinets on the front edge below the door. They are used for decorative purposes and depending on kitchen and cupboard styling they have different stylings.
Ending Notes
A kitchen Plinth adds functionality and makes your kitchen look compact and neat. However, for various reasons, you might need to remove the kitchen plinth; if you follow our guide correctly, you’ll know how to remove kitchen plinth without any hassle.
If your Kitchen Plinth is attached to the cupboard with screws, you need to unscrew them to remove the plinth. On the other hand, if it uses a clip-on system, you can use a suction cup lifter as a kitchen plinth removal tool.

