There is a kind of sink known as an undermount sink, which gets its name from the manner in which it is installed. It is fitted and fastened under the countertop surface after being placed. On the other hand, an inset sink is installed by simply dropping it into the hole that has been pre-cut in the countertop and being secured in place by a lip that protrudes beyond the surface of the countertop. This is a complete guide if you want to know How to Replace Undermount Sink Without Removing Countertop.
How to Replace Undermount Sink Without Removing Countertop?
The primary advantage of an undermount sink is that there is nothing between the surface of the countertop and the sink bowl. As a result, any debris, such as dirt or crumbs, that you wish to sweep into the sink will do so without difficulty and will not get trapped on the lip of the sink.
People often inquire, “can you replace a sink without replacing the countertop” due to the fact that the installation technique gives the sink the impression of being more permanent. The answer, in a word, is “yes.” In order to remove an undermount sink, you must first remove the adhesive sealant and then unbolt any supports that are keeping the sink in place.
However, the amount of complexity that is involved when it comes to changing or installing undermount sinks is mostly determined by whether or not you have a laminate countertop or a solid surface countertop (such as granite, marble, or quartz).
Sinks that are put in solid surface countertops are mounted and glued directly to the bottom of the stone. This is referred to as an undermount sink. On the other hand, undermount sinks in a laminate countertop are bonded to the wood deck that is located beneath the laminate covering (which is often plywood), and the laminate is applied over the sink.
If you have a countertop made of laminate and you wish to replace or install an undermount sink, you will most likely need to replace the whole laminate surface of your countertop. This is because replacing the sink would require cutting into the countertop’s laminate. Which might answer your question to How to Replace Undermount Sink Without Removing Countertop.
The subsequent sections of this “How To” article will focus on removing and replacing an undermount sink in a stone or solid surface countertop.
Changing Out Your Existing Undermount Sink
The rest of this piece will walk you through a few easy procedures to follow in the event that you make the decision that you do want to replace an undermount sink that is already in your home.
The Tools That You Will Require
- The use of a pair of pliers
- The blade of a razor or an exacto knife
- A razor scraper or bare razor blade
- A cloth and some denatured alcohol are necessary for cleaning.
- A screwdriver with a Phillips-head tip
- A bar clamp (Optional)
- 100% silicone sealant
Choosing a New Sink for Your Home
After you have made up your mind about the design and color of the new sink that you want to buy, the next step is to take some measurements of the current sink installation and get a sense of how large the new sink will be. Take careful measurements of the width, length, and depth of the sink you currently have.
You are free to purchase a new sink that is somewhat deeper than the one that was previously installed, but you will be responsible for ensuring that the width and length of the new sink are compatible with the hole that has already been made in your stone countertop.
The most common dimensions for kitchen sinks are 24 inches, 30 inches, and 33 inches in width. The width of the sink basin or bowls, measured along the longest side, is what these dimensions refer to. The standard size for a kitchen sink is 30 inches, which is suitable for use in almost all kitchens and may complement a variety of architectural designs.
There is no such thing as a conventional size for a bathroom sink, mostly due to the fact that bathroom sinks come in a far wider variety of designs than kitchen sinks do. However, the majority of circular bathroom sinks have a diameter of around 16 to 20 inches, while the majority of rectangular bathroom sinks have a width of approximately 19 to 24 inches.
As a general rule of thumb, the counter top that you are installing the sink into needs to have at least an inch and a half of clearance on either side of the sink in order for the lip of the sink to attach properly. This clearance is required in order for the sink to function properly after it has been installed. To put it another way, if you have a sink that is 30 inches broad, the width of your countertop has to be at least 33 inches. This is often just a problem when dealing with a smaller fixture, such as the kind you may find in a wet bar or a bathroom that is on the smaller side.
Taking Out Your Already Existing Sink
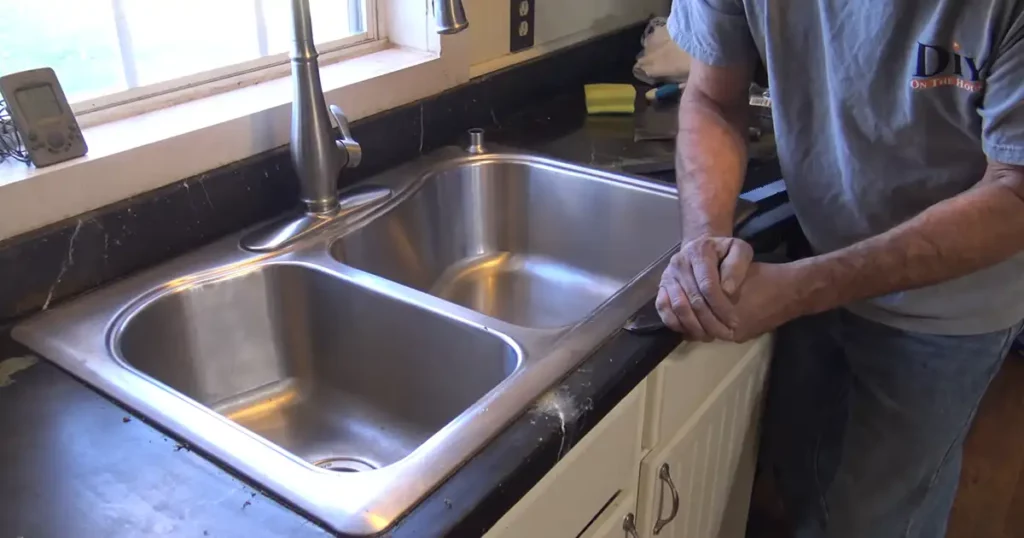
You should be able to unscrew the P-Trap arm (the white or black PVC pipe connected to the bottom of your sink) with your hand; if you are unable to do so, you will need a set of pliers. Before you begin removing the sink, make sure the water supply to the faucet is turned off using the knobs in the cabinet below the sink to replace undermount sink.
Once this has been done, disconnect the P-Trap arm. In addition, if you have a trash disposal, disconnect it and then undo the bolts holding it in place at the bottom of the sink drain so that you may remove it.
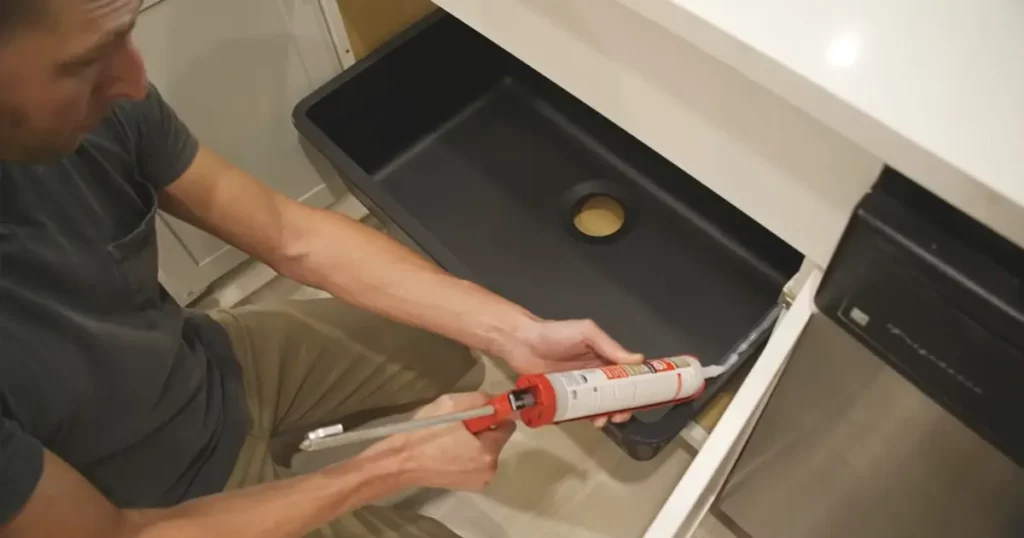
An undermount sink will often have two points of attachment to the bottom of the countertop where it is mounted. A silicone adhesive or sealant is used to attach the rim of the sink to the bottom of the counter, where it will remain securely in place. This is the primary means of connection, as well as the component that maintains the position of the sink in respect to the cutout in the countertop.
In addition to the adhesive, the bottom of the counter is often equipped with two metal clips that are fastened into place in order to firmly keep the sink in its position.
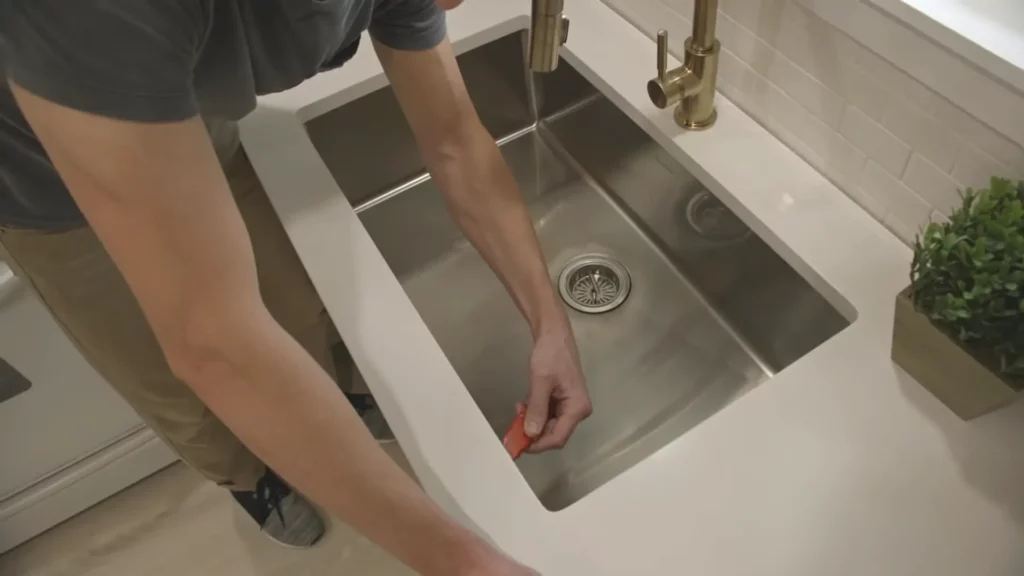
To begin the process to replace an undermount sink, grab your razor knife and begin cutting through the present sealant that is keeping the sink in place. This will allow you to begin removing the sink. The sealant may be found in the narrow space that can be found between the countertop edge that surrounds the sink and the sink itself.
Move around the sink in a cautious and methodical manner while applying constant pressure in order to ensure that you cut as deeply as possible through the sealant.
After you have cut through the sealant, you will need to undo the metal clips that are located below the countertop. Because these are the last points of connection keeping the sink in place, be sure that someone else is physically holding the sink in place while you work underneath the sink in order to prevent the sink from collapsing on the person who is unscrewing the clips.
After the sealant has been sliced through and the clips have been taken off, the sink should be able to be removed from the cabinet by sliding it out through the bottom. Concerns and Opportunities Involved in Changing Out the Undermount Sink
Always keep in mind that if you truly want to replace the undermount sink, you need to make sure that you are prepared for the possibility that the granite countertop will break, and that you are both willing and able to replace it if the countertop does break. If you really want to replace the undermount sink, you need to make sure that you are ready for this possibility.
In the event that silicone was used in the gluing process of your under-mount sink, then you have yet another issue on your hands. After a period of time, silicone may harden into a material that is legendary for its strength. The stronger the silicone bond, the more difficult it would be to remove the sink from the granite countertop without inflicting some kind of harm to the surface. Even while the old silicone bonding can be cut away with a knife, there are certain areas where you won’t be able to do so without first raising the granite countertop.
Even if you are successful in removing the silicone bonding that holds the undermount sink to the cabinet, you may still have trouble removing the sink from the cabinet. Because there is insufficient room, the sink will not be able to rotate into position for removal at that location. Lifting the granite countertop would be required, which gets us back to the point where there is a possibility of cracking it.
How to Remove Undermount Sink from Granite
It would seem that you are able to, but you must be prepared to deal with a variety of challenges and opportunities if and when you do decide to go with the replacement of the undermount sink in any case.
Take for example an under-mount sink that has a lip that is concealed neatly inside the walls of a cabinet. In this particular scenario, the countertop will need to be raised. However, doing so puts you in danger of cracking the granite countertop you’re working on.
First and foremost, you should seek the advice of plumbing and granite experts
It is usually better to acquire the advice of a professional plumber in Sydney before making a choice to replace your under-mount sink. This is especially true in this situation. Even better, obtain the opinion of someone who works professionally with granite.
Although we are not suggesting that it is impossible to replace an undermount sink without breaking the granite countertop, the opinion of the experts that have been mentioned can at least help you make an informed decision before you continue with your project and all of the risks that are associated with it.
In the event that you choose to remove the granite countertop and it breaks in the process, you need to make the most of the occasion and construct an under-mount sink that is more in line with your preferences.
Make sure that you get the ideal under-mount sink to go with a granite countertop that you adore so that you won’t have to go through the difficulty of changing it again, at least not for a very long time. This will prevent you from having to go through the hassle of replacing it ever again.
Wrapping It Up
After you have successfully broken the seal and removed the sink, the next step is to wipe the old glue off of your quartz countertops. This step is particularly important if you
are going to install a new sink in its place. In some circumstances, you can decide that removing the support anchors is necessary.
This can be done by either unscrewing them or chipping them with a chisel. If, on the other hand, the anchors are set in stone and fastened with epoxy, it is possible that it would be more prudent to leave them where they are. You may also use a hacksaw to cut them so that they are level with the material that makes up the counter. No more worrying about “can you replace a sink without replacing countertop?”
FAQ
Can I replace sink without changing countertop?
In short, yes, a kitchen sink may be replaced without also replacing the countertop. However, it is advised that a professional manage the replacement in order to avoid any harm to the countertop.
Is it possible to replace an undermount kitchen sink?
Replace an undermount sink to give your kitchen or bathroom a clean, modern vibe. It’s also an easy method to modernize a space. An undermount sink makes washing the counter simpler sinc
Can an undermount sink be installed after the countertop?
Before the countertop slabs are put down, an undermount kitchen sink must be installed. Once the countertop slabs are in place, it’s frequently impossible to get the sink through the hole and create a tight seal between the sink and the countertop’s bottom.