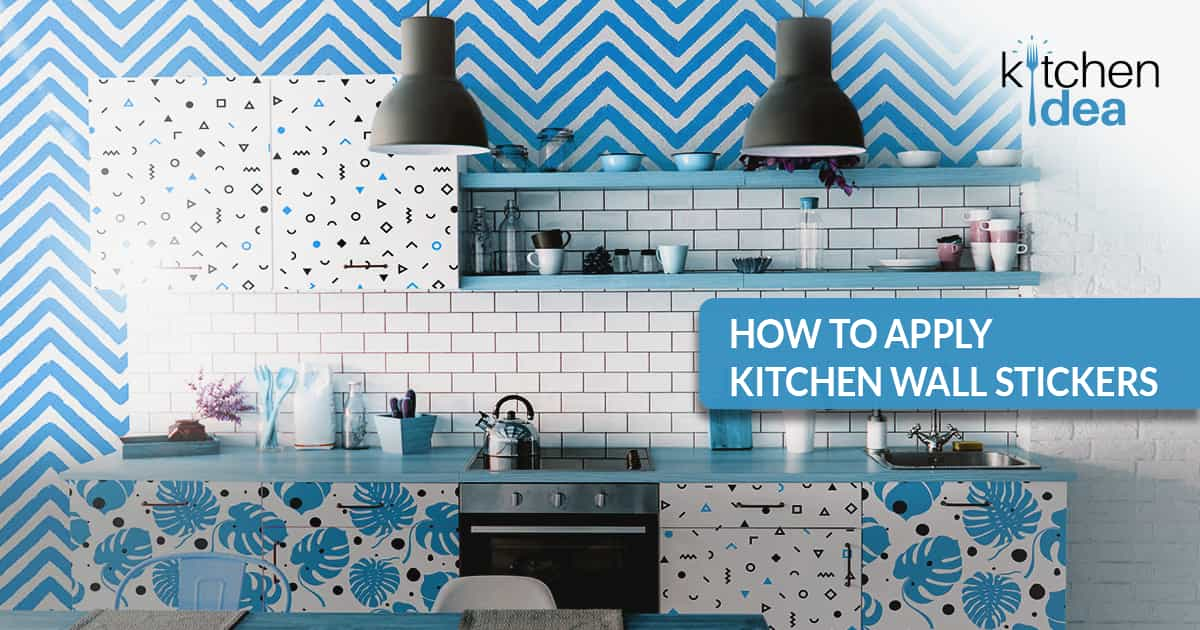
Kitchen Wall Stickers can enhance the look of your kitchen, and they come in various shapes and designs, letting you customize your kitchen the way you want. In addition, they’re usually cheaper than other Wall art forms, so it can be a cost-effective way to add some character to your kitchen.
What are Wall Stickers?
Kitchen Wall Stickers are usually made with Vinyl materials, making them long-lasting. Even though they are called Wall Stickers, you can apply them to any flat and smooth surfaces besides Walls. Follow our guide to know how to apply Kitchen Wall Stickers in your kitchen.
Kitchen Wall stickers come in various shapes and designs; there are hundreds of options to choose from. Mostly, the designs are made with images of foods, drinks, quotes relevant to foods/beverages, or even pertinent witty puns. However, you can create custom-designed stickers according to your choice and taste.
You’ll find stickers of cups of coffee or tea, food items or quotes like – “Meals and Memories Are Made Here”, “The Kitchen is the Heart of Home”, or even witty Puns like – “Espresso Yourself”, “All You Knead is Love” etc.
How to Choose Your Kitchen Wall Sticker?
The most important factor when choosing your Kitchen Wall Sticker is your taste and choice. However, there are also a few more things to keep in mind. The overall color of your kitchen, where you’ll be installing them, and the spacing of the place where you’ll be installing them are essential too.
In the case of styling, it’s absolutely up to you, your family, and what you like and want. It would be best to spend some time exploring and researching; you can do basic research online. However, if you’re going to do an in-depth analysis, you can head out to physical stores. You’ll also have many options like witty, sentimental, punny, visual, etc.
When choosing the shape and size of your sticker, you need to assess the space where you’ll be installing them. If you have ample room, like above your kitchen table or a free space without anything around, you have the freedom to choose whatever shape you want.
However, suppose the space where you’ll install your sticker is limited or compact, like in between cabinets or smaller space above/beside your refrigerator. In that case, you should go with a small portrait/landscape shape that goes well in the area.
Whatever shape you’re going for, you’ll always be able to find a plethora of options to choose from, so it should not be too hard to choose something that goes well with your kitchen. However, do avoid getting a sticker that’s too big for the space you’ll be using it on, as it can make the area look cluttered.
There are also options to get sticker sets, which will add to your kitchen as they can be thematic.
When it comes to color, it’s again up to you entirely, however, try to choose designs with colors that blend well with the color of your wall.
know More: Kitchen Wall Lights
How to Apply Kitchen Wall Stickers?
So now that you’ve picked the stickers you want for your kitchen, the next step is to apply them. The installation process is not complicated and should be quick, but we recommend following our easy guide for the best results.
Usually, your sticker is composed of 3 different sections; an application layer, a backing layer, and your main sticker.
You’ll need a few things to install your kitchen sticker properly, like – Scissors, Masking Tape, a Credit Card/Applicator, a piece of cloth, and a ruler.
Before you start, you should ensure your wall’s surface is clean and dust-free. You can use the piece of clothing to wipe off any dust or debris and ensure the surface is clean and tidy. It would help if you also made sure the wall is dry.
After that, you need to unpack your sticker, unroll it, and flatten it. Stickers usually are already cut to size. However, if you need to resize it, use a sharp scissor and cut according to your needs.
The Installation Process
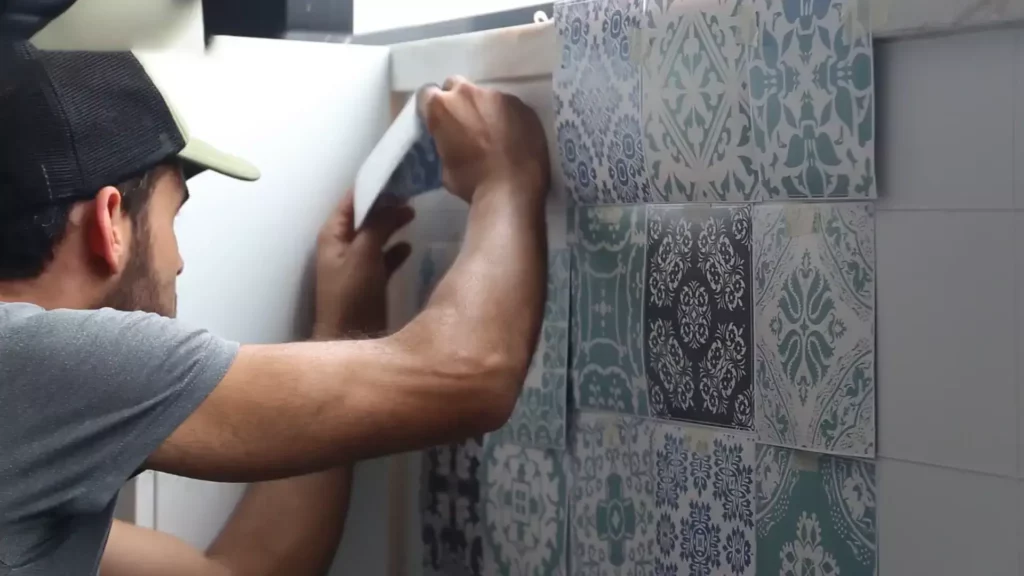
- Use the masking tape on all four corners of the application, layer your sticker evenly and set it on your wall. After that, use a small strip of masking tape in the middle of the sticker to place it well. For the middle section, you can either use a vertical shape or horizontal one, depending on the shape and size of the sticker
- Next, remove the tape from either top or the bottom side and start peeling off the backing layer. Once you peel up to the central masking tape, cut the backing layer off half of your sticker and apply it to the wall. Repeat the process for the other half of the sticker after that.
- Once your Sticker is set, use the credit card to remove any air bubbles. Work from the middle to the edges and ensure no air bubble is left.
- Leave the sticker for at least a few minutes for it to be set properly on the wall.
- Remove the leftover masking tape from the middle.
- Remove the application layer, and you should do this process slowly since if you rush, there is a risk of the sticker coming off. If your sticker starts coming off, reapply the layer, press hard, and repeat the process.
And that is it, you successfully have your new kitchen sticker set up!
You should also note that for larger stickers, it’s better to have two people apply the sticker evenly. Furthermore, if your sticker is too tiny, you probably won’t need to use masking tape. If possible, avoid applying your sticker directly above a heat source.
Benefits of Wall Stickers
An essential benefit of a wall sticker is that it enhances the entire look of your kitchen, and you can personalize it in the way you like. Moreover, it is cheaper than painting your entire wall or buying painted tiles.
It’s also very easy to clean, and the adhesive used is usually suitable and will last for years. Furthermore, if you have a change of taste, removing or replacing your sticker is easy compared to other permanent options.
Some Final Notes
The critical aspect of kitchen stickers is choosing the right place and space. Furthermore, using complementary colors and design is also essential. Finally, while installing your sticker, follow our guide and take your time for proper application and the best outcome.
On a different note, if you plan to design an entire wall or entire section of wall, instead of stickers, go for murals, as they are more suitable for large decors.